How to Install Docker Desktop on Windows – Step-by-Step Guide
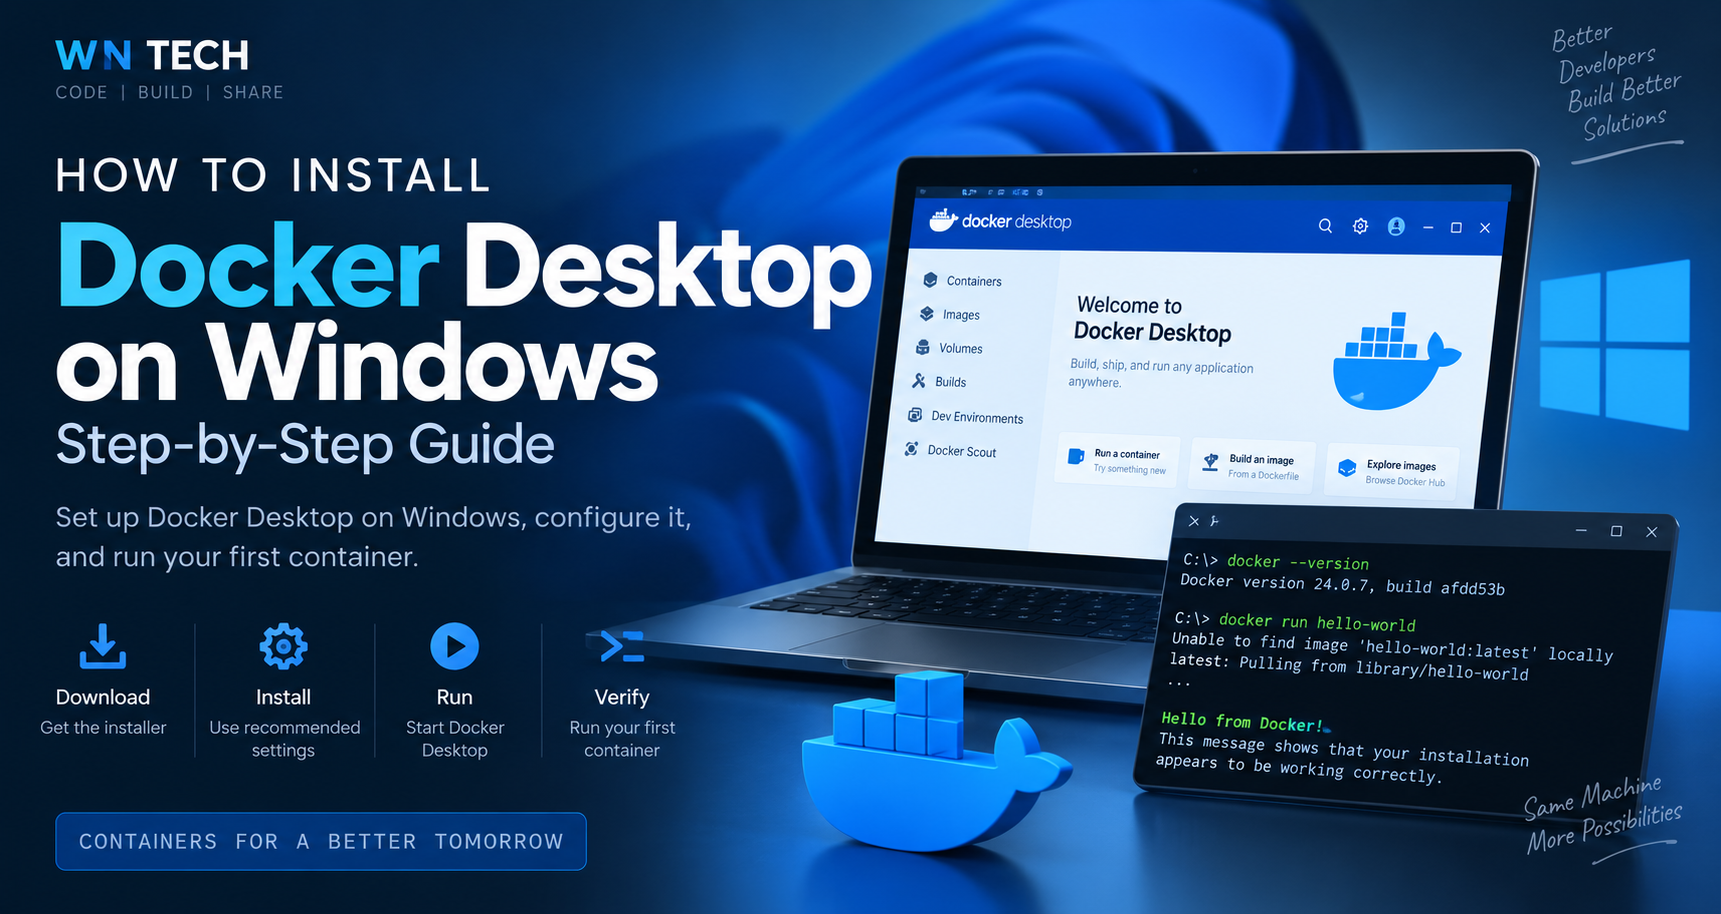
Docker has become an essential tool for modern software development. Whether you are working with microservices, databases, automation tools, or simply want to run applications without installing all their dependencies directly on your machine, Docker makes the process much easier.
In this article, we will install Docker Desktop on Windows, configure it using the recommended settings, and verify the installation by running our first Docker container.
By the end of this article, you will have a working Docker environment ready for running containerized applications locally.
What is Docker Desktop?
Docker Desktop is an application that provides everything you need to build and run Docker containers on your local machine.
It includes Docker Engine, Docker CLI, Docker Compose, and a graphical interface for managing containers and images. On Windows, Docker Desktop can also integrate with Windows Subsystem for Linux 2 (WSL 2) to run Linux containers efficiently.
Instead of manually setting up all these components, Docker Desktop provides a convenient development environment in a single installation.
Download Docker Desktop
Go to the official Docker Desktop download page:
Docker Desktop:
Download Docker Desktop
You should see the Docker Desktop download page.
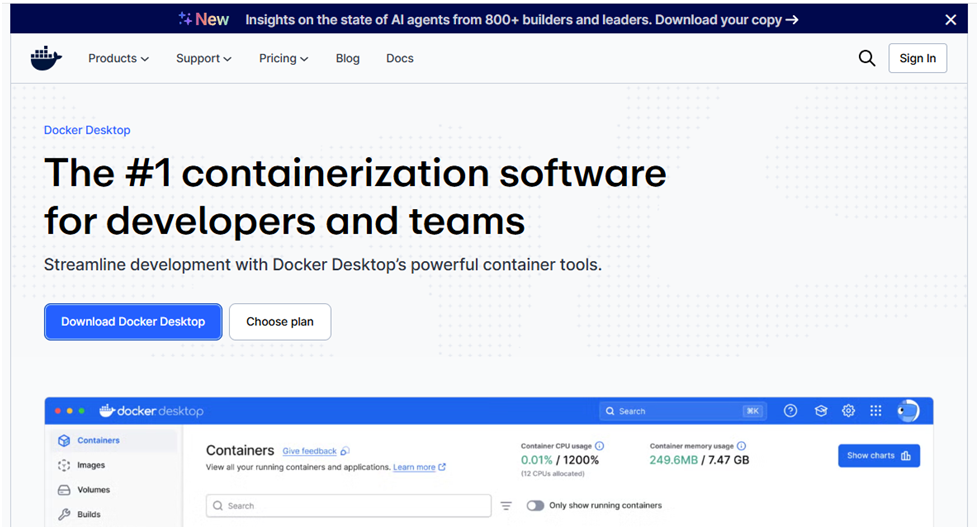
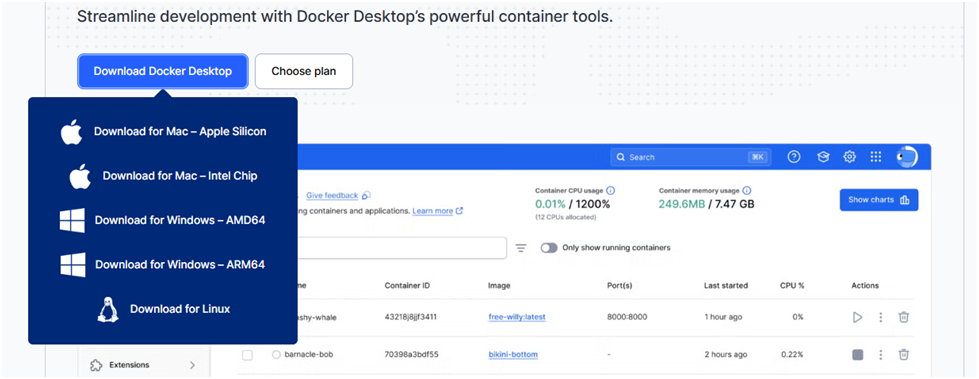
Hover over or click Download Docker Desktop.
You will see different installers depending on your operating system and processor architecture.
For Windows, you may see options such as:
Windows – AMD64
Windows – ARM64
For most Windows PCs with Intel or AMD processors, choose Windows – AMD64. ARM64 is intended for Windows machines using ARM-based processors.
In my case, I am using Windows with an x64 processor, so I downloaded the Windows AMD64 version.
The installer will be downloaded as:
Docker Desktop Installer.exe
Once the download is complete, navigate to your download location.
Install Docker Desktop
Double-click Docker Desktop Installer.exe to start the installation.
The Docker Desktop configuration screen will appear.
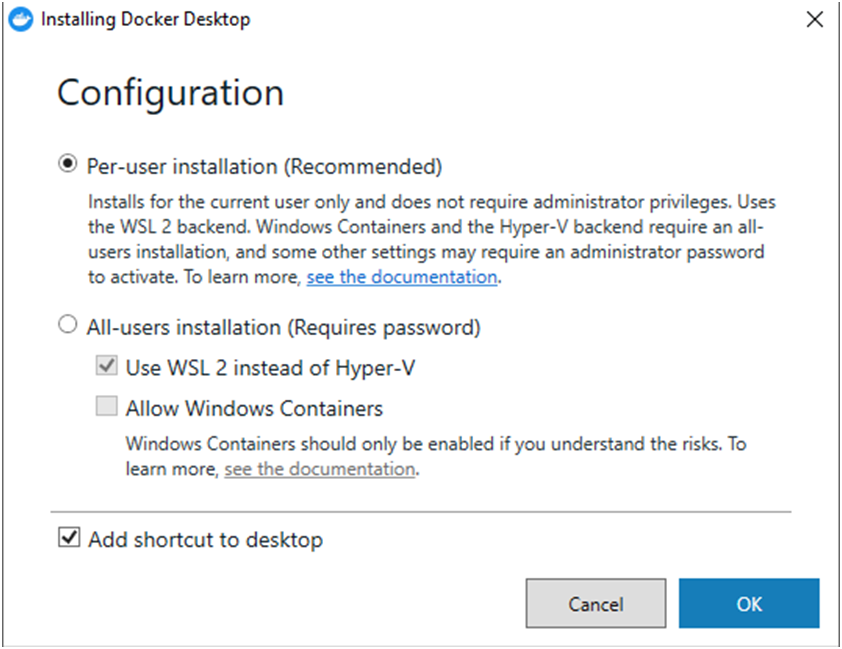
You should see the Per-user installation (Recommended) option selected by default.
For most development environments, the default configuration is sufficient. Docker currently recommends per-user installation for most users, and the WSL 2 backend works well for typical Linux-container development on Windows.
Leave the recommended settings selected and click OK.
Docker Desktop will start unpacking and installing the required files.
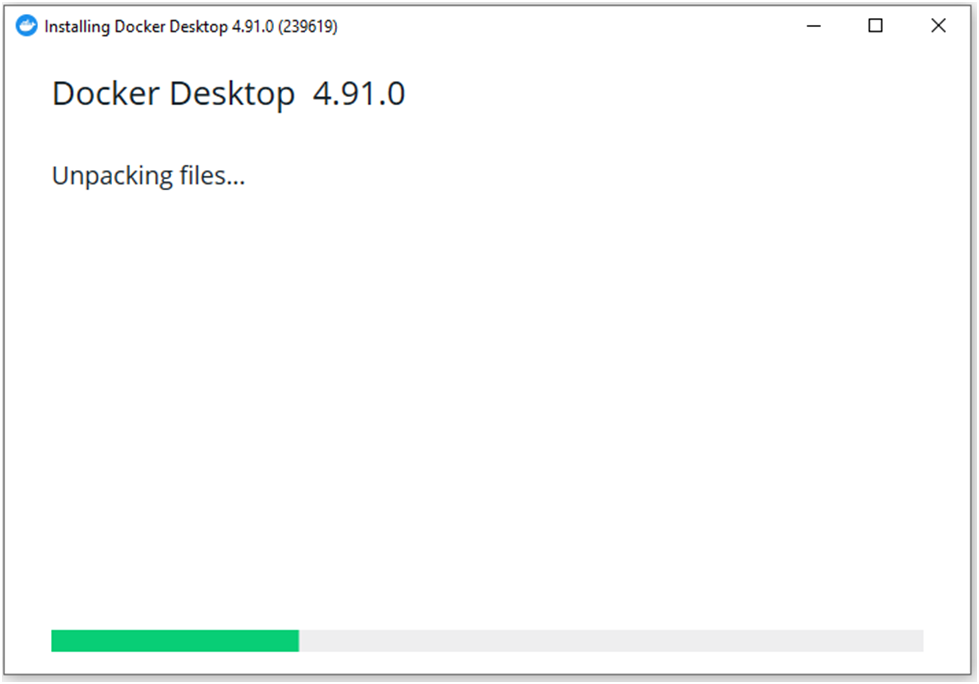
The installation may take a few minutes depending on your system.
Once the installation finishes successfully, you should see the following screen.
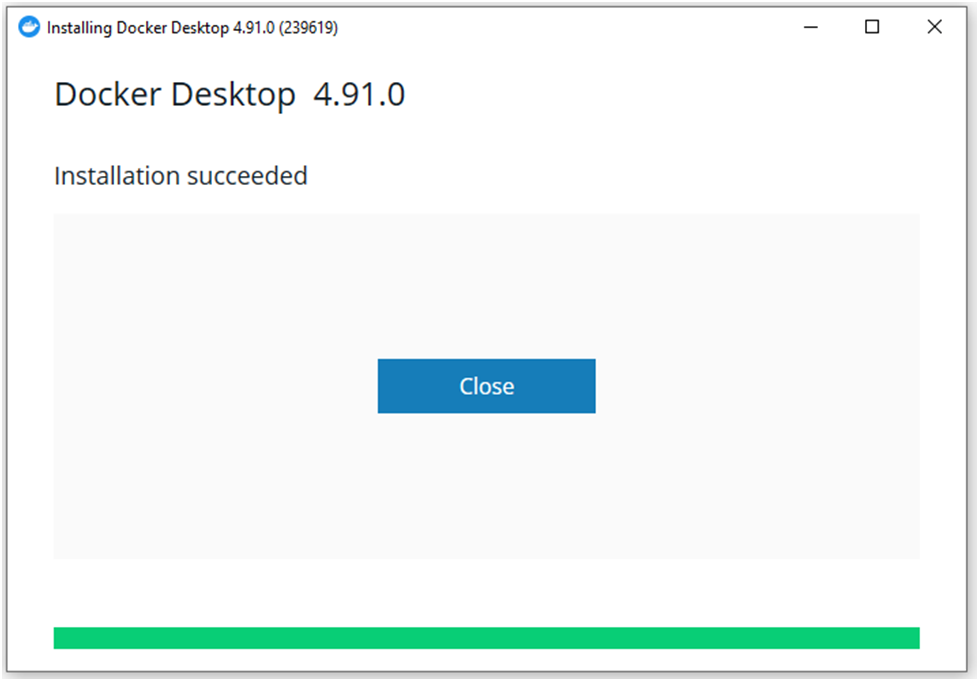
Click Close.
Start Docker Desktop
Installing Docker Desktop does not necessarily mean that the Docker Engine is already running.
Open Windows Search and search for:
Docker Desktop
Open Docker Desktop.
On the first launch, Docker may display its Subscription Service Agreement. Review the terms and click Accept if you agree with them.
Docker Desktop will now start the Docker Engine.
You may briefly see:
Starting the Docker Engine...
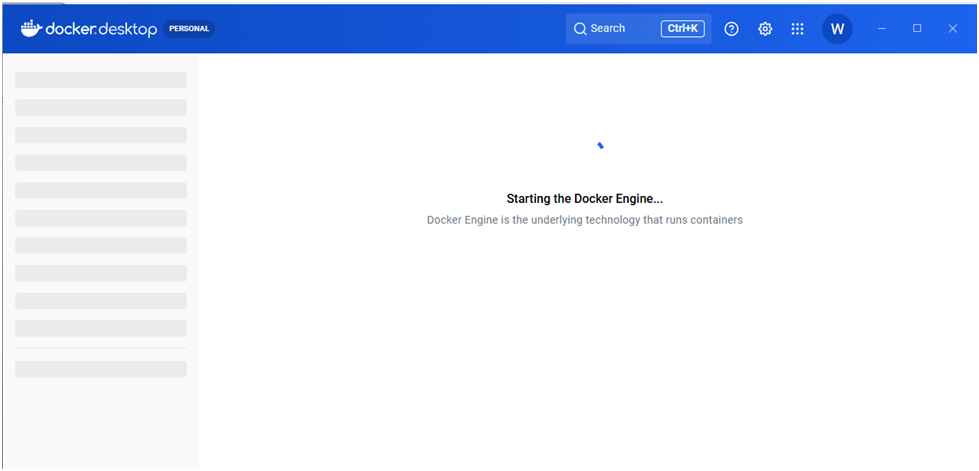
Give it some time to initialize.
Once Docker Desktop has finished starting, you should see the main Docker Desktop dashboard.
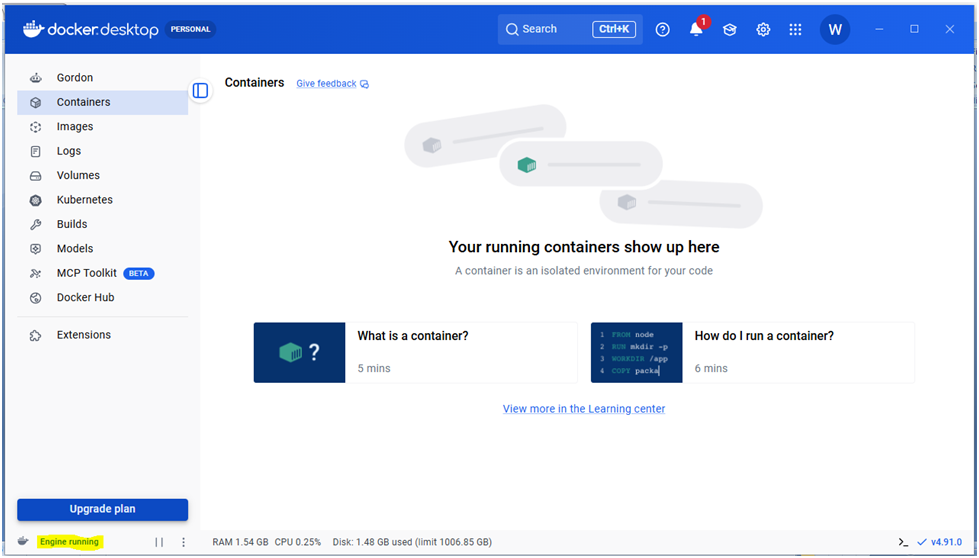
At this point, Docker Desktop is installed and running.
However, rather than stopping here, let's verify that Docker is actually working correctly.
Verify Docker Installation
Open Command Prompt, PowerShell, or Windows Terminal.
First, check whether the Docker CLI is available:
docker --version
You should get output containing your installed Docker version.
For example:
Docker version xx.x.x, build xxxxxxx
The exact version will depend on the Docker Desktop version installed on your machine.
If the command returns the Docker version successfully, it confirms that the Docker CLI is installed and accessible from your terminal.
Check Docker Engine Information
Next, run:
docker info
This command provides detailed information about your Docker environment, including the Docker client, server, containers, images, storage driver, and other configuration details.
If Docker Desktop is running correctly, this command should return detailed Docker information instead of a connection error.
Run Your First Docker Container
The best way to verify the complete Docker installation is to actually run a container.
Run:
docker run hello-world
If the hello-world image does not already exist on your machine, Docker will first download it.
You may see output similar to:
Unable to find image 'hello-world:latest' locally

latest: Pulling from library/hello-world

4f55086f7dd0: Pull complete
d5e71e642bf5: Download complete

Status: Downloaded newer image for hello-world:latest
Docker will then create and run a container using the downloaded image.
If everything is configured correctly, you should eventually see:
Hello from Docker!

This message shows that your installation appears to be working correctly.
That's it!
You have successfully installed Docker Desktop and run your first Docker container.
What Happened When We Ran hello-world?
Although the command was very simple:
docker run hello-world
several things happened behind the scenes.
First, the Docker client contacted the Docker daemon.
Docker then checked whether the hello-world image was available locally. Since we were running it for the first time, Docker downloaded the image.
After downloading the image, Docker created a new container from it and executed the application inside that container.
Finally, the output generated by the container was sent back to our terminal.
This small test verifies that the major pieces of our Docker setup are working together:
Docker CLI
    ↓
Docker Engine
    ↓
Docker Image
    ↓
Container
    ↓
Application Output
Docker Desktop and WSL 2
On modern Windows development environments, Docker Desktop commonly uses WSL 2 (Windows Subsystem for Linux 2) as its backend for Linux containers.
WSL 2 provides a Linux environment integrated with Windows, allowing Docker to run Linux containers without requiring you to manually maintain a traditional Linux virtual machine.
If your system supports WSL 2, Docker Desktop normally handles most of the integration for you. Docker's current documentation lists WSL 2 as the default backend for typical Windows installations.
If Docker Desktop reports a WSL-related issue, you can check your WSL installation using:
wsl --version
You can update WSL using:
wsl --update
These commands are generally only required if Docker reports a problem with WSL. If Docker Desktop starts correctly and docker run hello-world works, there is no need to change anything.
Useful Docker Commands
Now that Docker is installed, here are a few useful commands you will commonly use:
Check the installed Docker version:
docker --version
View Docker system information:
docker info
List running containers:
docker ps
List all containers, including stopped containers:
docker ps -a
List downloaded Docker images:
docker images
Run the Docker test container:
docker run hello-world
You don't need to memorize all these commands right now. As you start working with Docker, they will become familiar naturally.
Conclusion
In this article, we installed Docker Desktop on Windows and verified that the complete Docker environment was working correctly.
We:
Downloaded Docker Desktop for Windows
Installed it using the recommended configuration
Started Docker Desktop
Verified the Docker CLI
Checked Docker Engine information
Downloaded a Docker image
Ran our first Docker container
The final:
Hello from Docker!
message confirms that our Docker installation is working correctly.
Docker is now ready to run containerized applications on our local machine.


